NetAnim 3.105: Difference between revisions
| Line 233: | Line 233: | ||
* Packet timeline can be viewed from the "Packets" tab** Note the "From Time" and "To Time" limits the range of packets that are visible** Note the filters and Time range are only applied after clicking the submit button. | * Packet timeline can be viewed from the "Packets" tab** Note the "From Time" and "To Time" limits the range of packets that are visible** Note the filters and Time range are only applied after clicking the submit button. | ||
[[File:packet_timeline2.png|thumbnail| | [[File:packet_timeline2.png|thumbnail|center|Packet TimeLine]] | ||
== F.A.Q == | == F.A.Q == | ||
Revision as of 05:33, 7 February 2014
Main Page - Roadmap - Summer Projects - Project Ideas - Developer FAQ - Tools - Related Projects
HOWTOs - Installation - Troubleshooting - User FAQ - Samples - Models - Education - Contributed Code - Papers
THIS PAGE IS UNDER CONSTRUCTION
The current release version is 3.105 and will be bundled along with ns-3.20. NetAnim 3.105 is compatible with ns-3-dev. Contributors:
- John Abraham
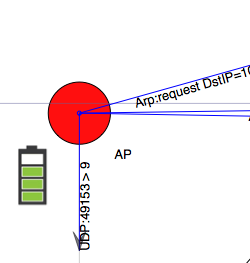
- Evegeny Kalishenko (Battery Visualization)
- Emanuel Eichhammer (QCustomplot.com: Chart Visualization)
Summary of features
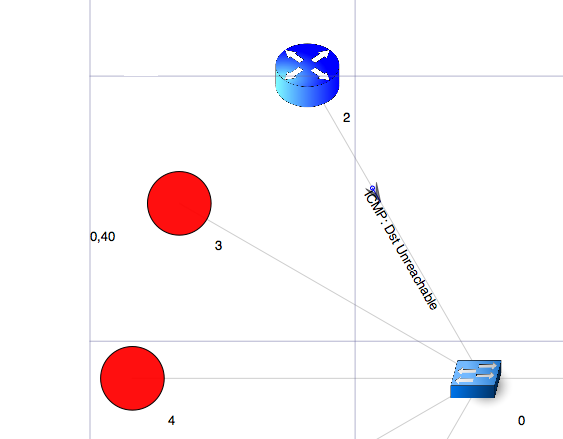
- Animate packets over wired-links and wireless-links (Limited support for LTE traces)
- Packet timeline with regex filter on packet meta-data.
- Node position statistics with node trajectory plotting(path of a mobile node).
- Print brief packet-meta data on packets
- Use custom icons for nodes
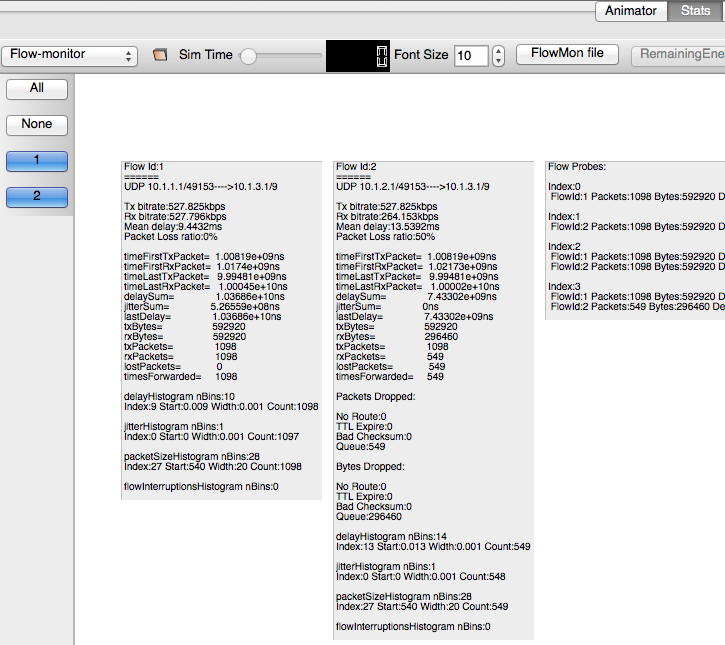
- Parse flow-monitor XML files and display statistics for each flow.
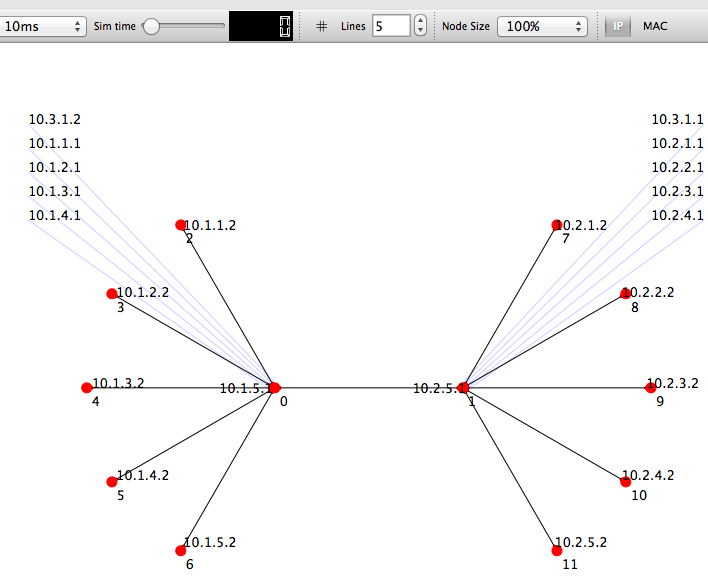
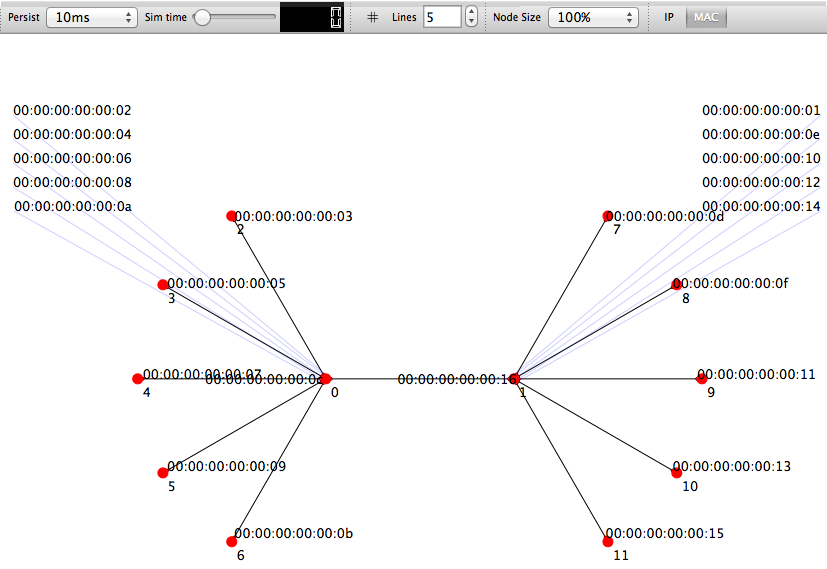
- Show IP and MAC information, including peer IP and MAC for point-to-point links.
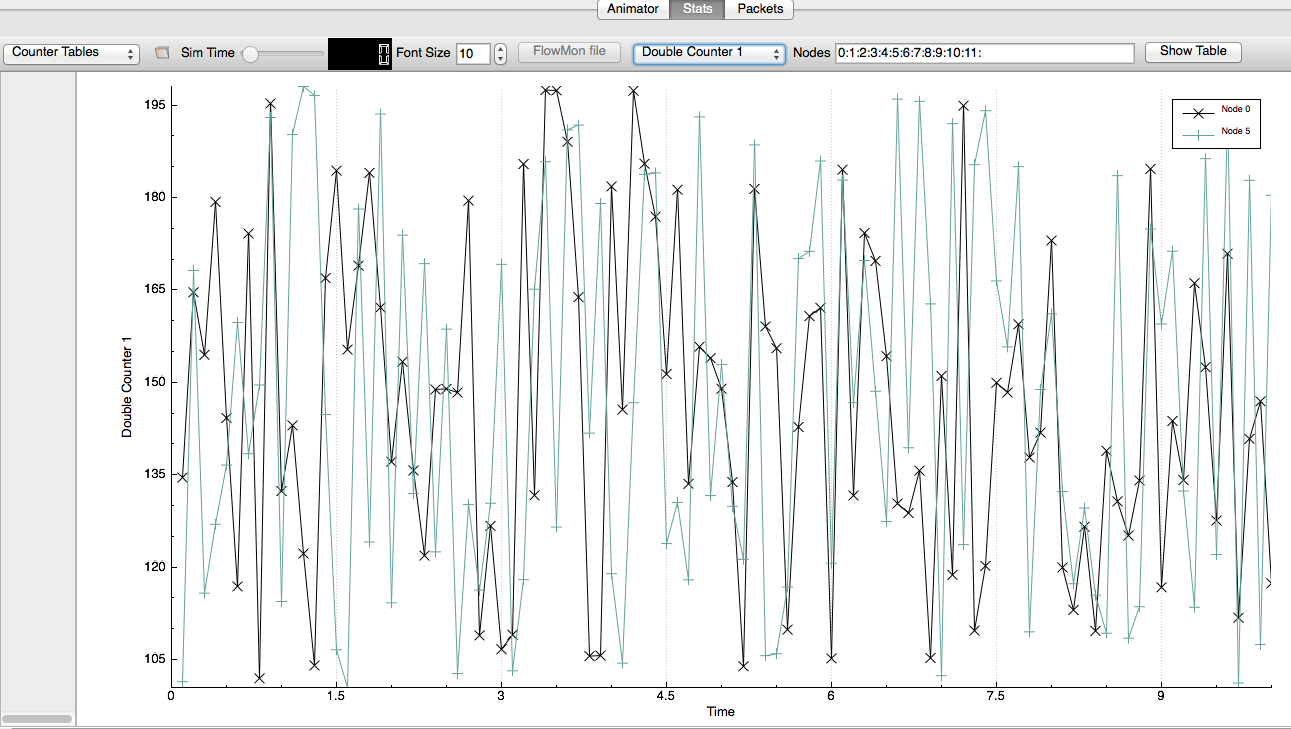
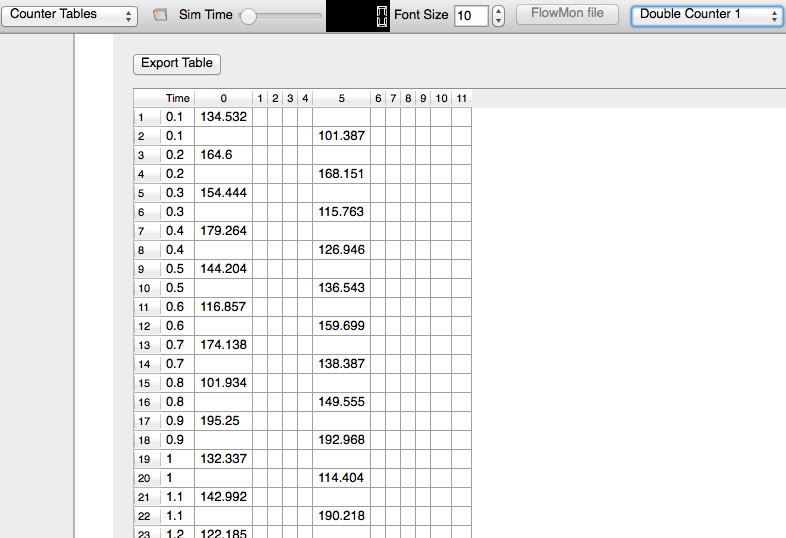
- Display double or uint32 valued counters vs time for multiple nodes in a chart or a table.
- Step through a simulation one event at a time and pause the simulation at a given time
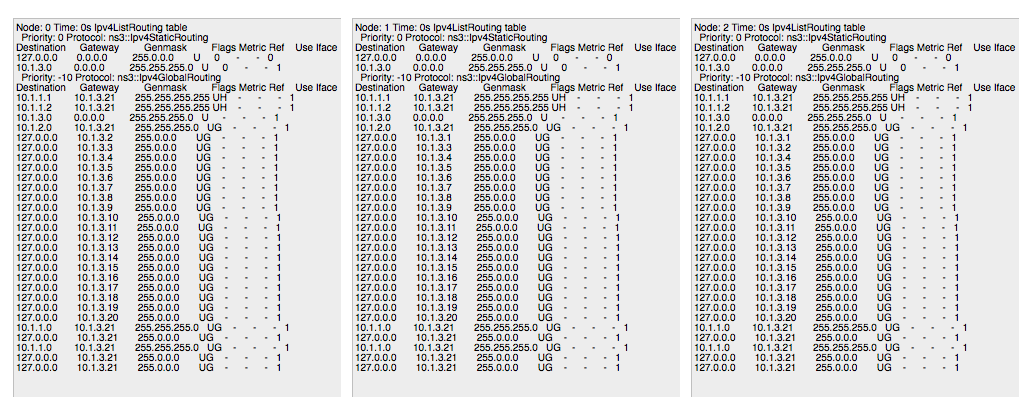
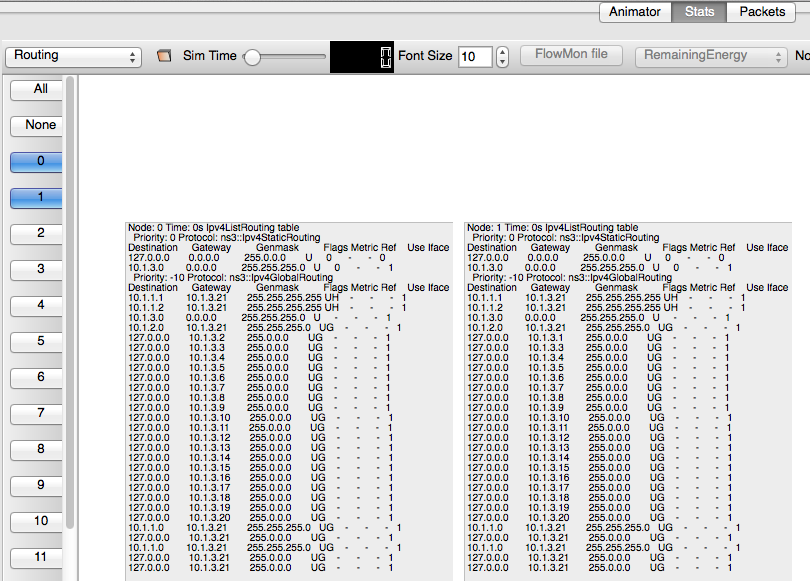
- Print the routing table at nodes at various points in time
.
Prerequisites
- mercurial
- QT4 development packages (recommended version 4.7)
Debian/Ubuntu Linux distribution:
- apt-get install mercurial
- apt-get install qt4-dev-tools
Red Hat/Fedora based distribution:
- yum install mercurial
- yum install qt4
- yum install qt4-devel
Mac/OSX
- mercurial
- Qt4 : Install Qt4 (including Qt Creator if possible) from http://qt.nokia.com/downloads/
Windows
- mercurial
- Qt Creator
- Microsoft Visual C++ (Visual Studio 2010 and over http://www.microsoft.com/visualstudio/eng/products/visual-studio-express-products) or MinGw compiler
Downloading NetAnim
- NetAnim 3.0:
hg clone http://code.nsnam.org/jabraham3/netanim-3.105
Building and Starting NetAnim
NetAnim uses a QT4 build tool called qmake. Only qmake version 4.7 is supported Please read the #Prerequisites before proceeding
cd netanim
make clean
qmake NetAnim.pro  (For MAC Users: qmake -spec macx-g++ NetAnim.pro)
make
Note: qmake could be "qmake-qt4" in some systems
This should create an executable named "NetAnim" in the same directory. To start the application just type "./NetAnim"
For windows users:
- In the netanim repository you cloned in step: #Downloading NetAnim , there will be a file named "NetAnim.pro". Double-click it. This should open QtCreator.
- In QtCreator to go "Projects" -->"Build settings"-->Tool chain. Here a tool chain should be displayed such as MSVisual C++ compiler or MinGw etc. If not click on "Manage" and point to the local of the tool chain. See http://doc.qt.digia.com/qtcreator-2.4/creator-tool-chains.html
- In QtCreator -->Click "Build All"-->Run, it should open the NetAnim executable.
Using NetAnim
Using NetAnim is a two-step process.
Step 1: Generate the animation XML trace file during simulation using "ns3::AnimationInterface" in the ns-3 code base
Step 2: Load the XML trace file generated in Step 1 with the offline animator (NetAnim).
Using ns3::AnimationInterface to generate Animation trace files
The NetAnim application requires a custom trace file for animation. This trace file is created by AnimationInterface in ns-3.
- Model is at: src/netanim/model
- Examples are at src/netanim/examples
Mandatory and optional set of steps
Here is the recommended set of steps for generating XML Animation traces.They must be applied just before the "Simulation::Run" statement.
NOTE: A node must have an associated mobility model in-order to be displayed on the animation. This applies for both stationary and mobile nodes (See notes below)
Mandatory
 0. Ensure that your wscript includes the "netanim" module. Example as in: src/netanim/examples/wscript.
 1. Also include the header [#include "ns3/netanim-module.h"] in your test program
 2. Add the statement "AnimationInterface anim ("animation.xml");" before Simulator::Run()
Optional
 3. anim.SetMobilityPollInterval (Seconds (1));[OPTIONAL]
 4. anim.SetConstantPosition (Ptr< Node > n, double x, double y); [OPTIONAL]
 5. anim.EnablePacketMetadata (true); [OPTIONAL]  available only on ns-3-dev and from ns-3.14. Used to show packet meta data on the packet statistics and packet animation
Try to keep the above as close as possible to the "Simulator::Run()" statement
Running an Example File to generate XML trace file
The netanim example files are located under "src/netanim/examples"
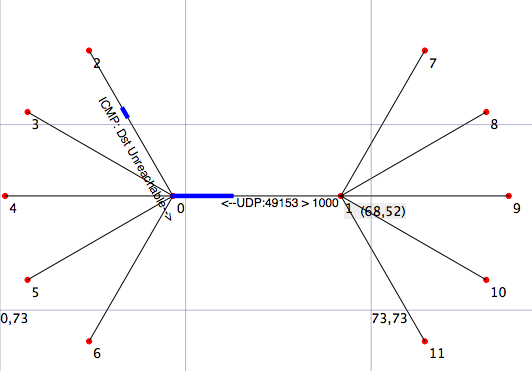
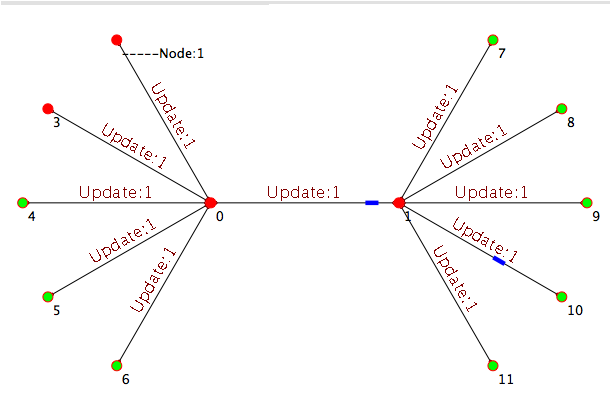
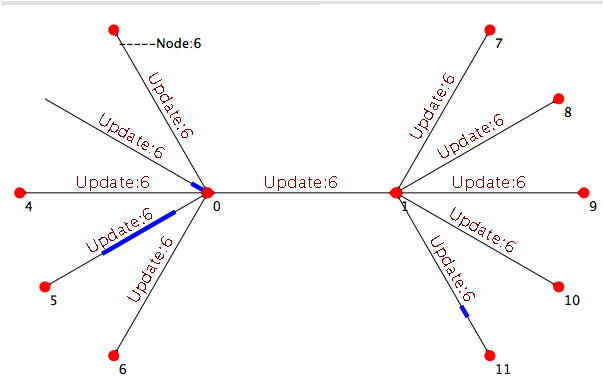
 ./waf --run "dumbbell-animation --nLeftLeaf=5 --nRightLeaf=5 --animFile=dumbbell.xml"
 ./waf --run "grid-animation --xSize=5 --ySize=5 --animFile=grid.xml"
Setting the location of nodes
NetAnim requires a location to be assigned to each Node, in-order to be shown on the animation.
For stationary nodes:
- You should assign the ConstantPositionMobilityModel. Constant Position is a kind of mobility.
Here is an example:
 1. Ptr<Node> n = nodecontainer.Get (1);
 2. AnimationInterface anim ("anim.xml");
 2. anim.SetConstantPosition (n, 100, 200);
where
 1. Get a Ptr to Node from the node container
 2. Instantiate an object of type AnimationInterface
 3. Set a node pointed to by "n" to the x-coordinate of 100 and y-coordinate of 200
For mobile nodes
- You should assign any suitable Mobility model.
The examples for these are found in places such as src/mobility/examples or examples/routing/manet-routing-compare.cc etc
The ns3::AnimationInterface class is responsible for the creation of the xml trace files. Currently, in basic-mode, AnimationInterface records the position of the nodes at every periodic interval. This interval is 200 ms by default. This will become more efficient in future releases. This has the potential to cause a. Slowness in simulation b. Large XML trace files
Some ways to get around this is to identify if your topology has
- only stationary nodes and hence no mobility
- or slow-moving nodes
If the above is the case you should use AnimationInterface::SetMobilityPollInterval to set the poll interval to a high value.
Using the XML trace with NetAnim
Run NetAnim and click the file-open button on the top-left hand corner and select the XML trace file that was discussed in the previous sections
- Here is a youtube video demonstrating how to load the XML file click here
Setting and viewing node properties
- The ideal way to set the node properties are through ns3::AnimationInterface
- Update the size of the node using AnimationInterface::UpdateNodeSize (uint32_t nodeId, double width, double height)
- Update the color of the node using AnimationInterface::UpdateNodeColor (uint32_t nodeId, uint8_t r, uint8_t g, uint8_t b)
- Update the image of the node using AnimationInterface::UpdateNodeImage (uint32_t nodeId, uint32_t resourceId). Prior to using AnimationInterface::UpdateNodeImage, a resource ID must be obtained for your custom image using AnimationInterface::AddResource (std::string resourcePath)
Sample usage for the above are found under src/netanim/examples
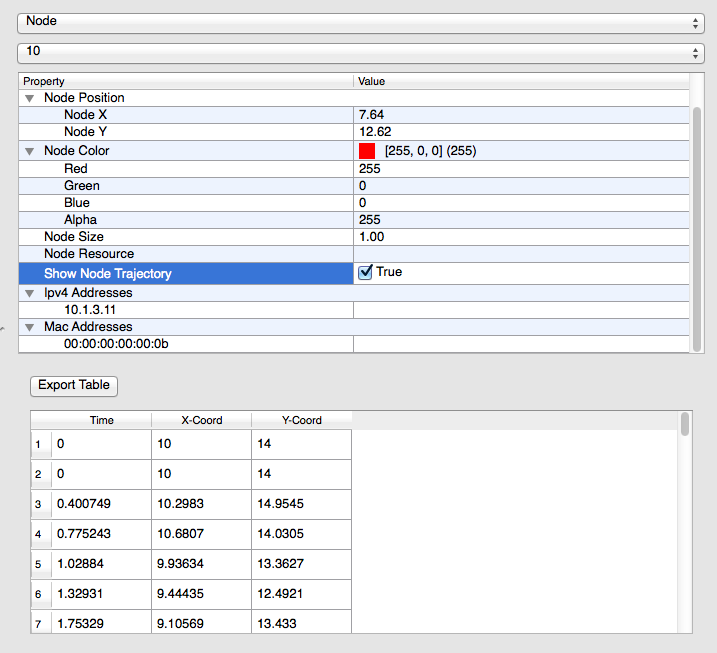
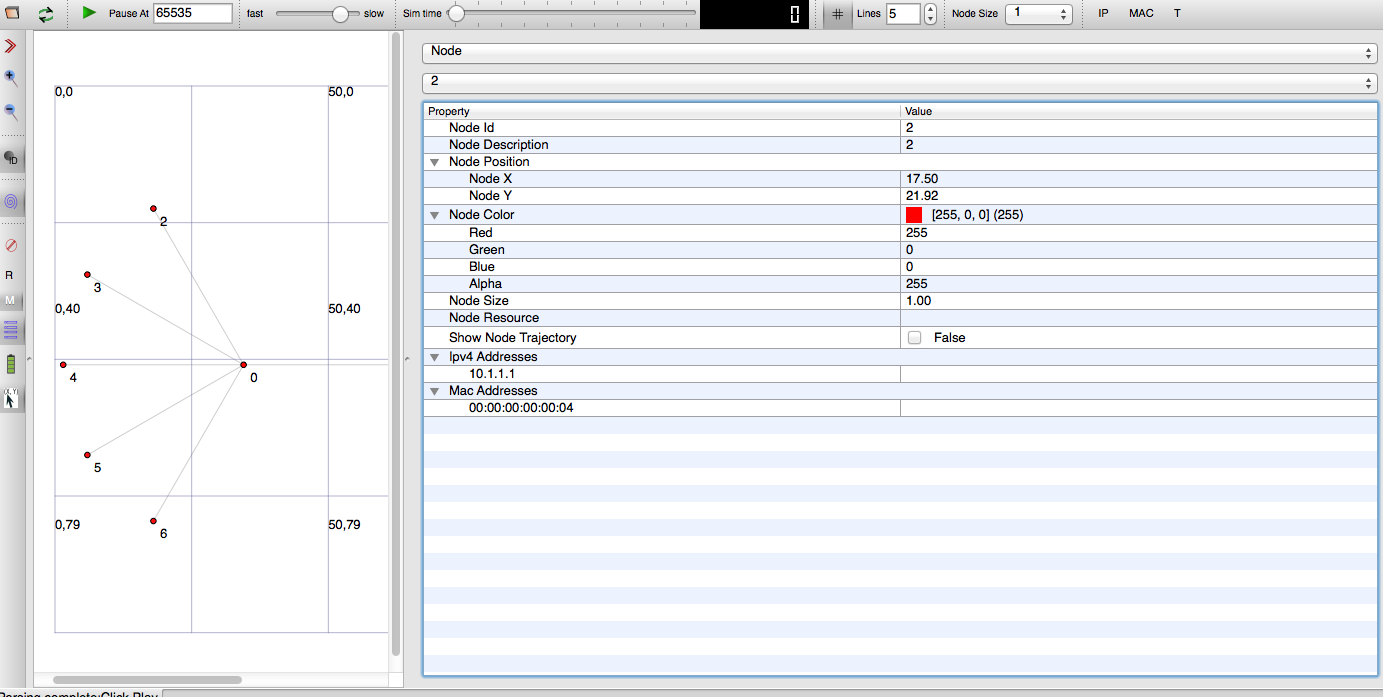
- Double-click on a node (click the properties button on the left toolbar) and you will be presented with the node properties panel.
From this panel you can set
- The position of the node
- The color of the node (including alpha value or opacity)
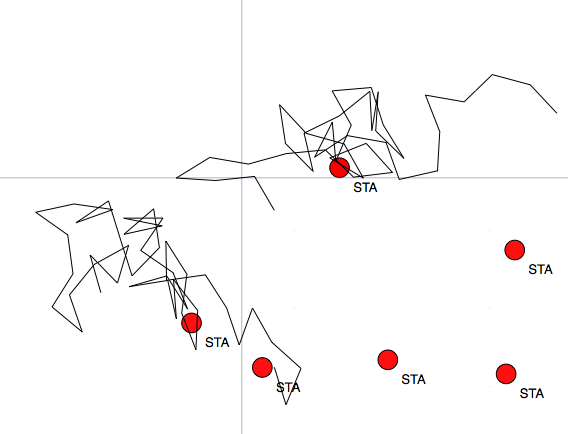
- Enable the display of the node-trajectory (path moved by the node)
- List of IP address and Mac address combinations
- Any unit32 or double counters associated with the node
- Set a custom icon for the node
- Set the size of the node.
Setting a custom background
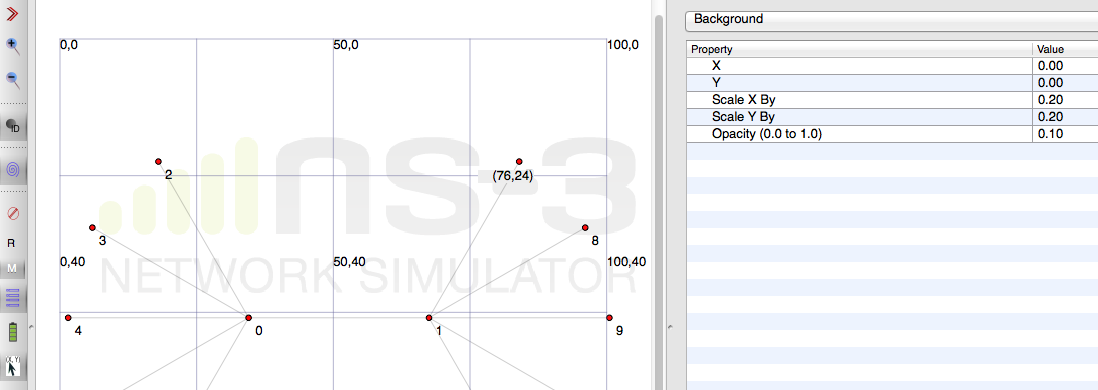
- A custom background image can be set using AnimationInterface::SetBackgroundImage (std::string fileName, double x, double y, double scaleX, double scaleY, double opacity)** The background properties can be updated from the properties panel (click the properties button and select "Background")
Reload the trace file
Starting from 3.105 it is not required to re-open the file browser and locate the XML trace file if a new trace file has the same name as the previous trace file.Hit the reload button and the updated trace file will be loaded.
Stepping through simulation
Starting from 3.105 it is possible to step through each event in the animation trace file. Use the step button
Tracking the routing table
- The routing tables of various nodes can be tracked at various points in simulation time. Using AnimationInterface::EnableIpv4RouteTracking (std::string fileName, Time startTime, Time stopTime, TimepollInterval=Seconds(5)) will a create a separate XML file that tracks routing tables at a node (or a container of nodes) at the polling interval.
- Once the routing-table XML is generated, select the "Stats" tab and click the drop-down menu to select "Routing".
- Click the file-browser button to load the XML file with routing-table information.
Parsing the Flow-monitor XML output
- The flow-monitor XML file can be parsed by selecting the "Stats" tab, click the drop-down menu to select "Flow-monitor", and choose the flow-monitor XML file by clicking the "FlowMon file" button.
Tracking Node counters
- AnimationInterface provides a way to track uint32 or double counters associated with a node.
- The counters can be plotted as charts or shown as a table of values that can be exported.
- Using node-counterss
- Obtain a counter-id by using AnimationInterface::AddNodeCounter (std::string counterName, CounterType counterType)
- Use the counter-id to update the counters values for a given node using AnimationInterface::UpdateNodeCounter (uint32_t nodeCounterId, uint32_t nodeId, double counter)Sample usages are found under src/netanim/examples
- Using node-counterss
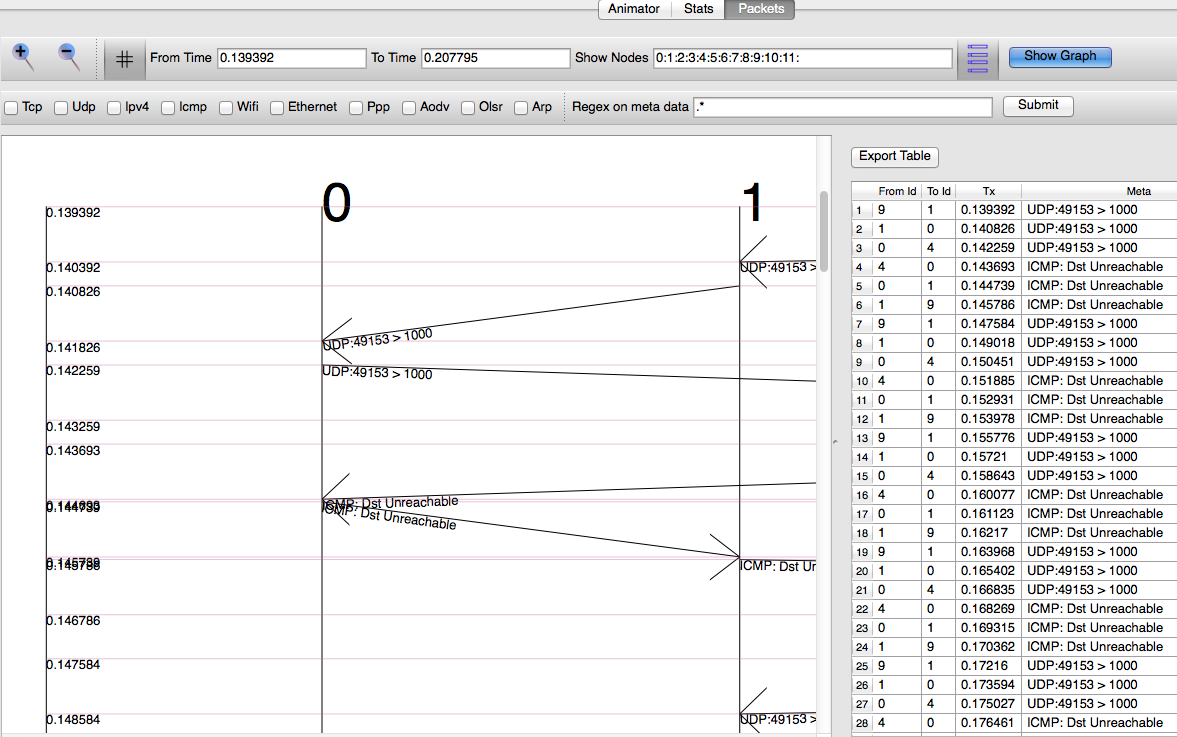
Packet Timeline
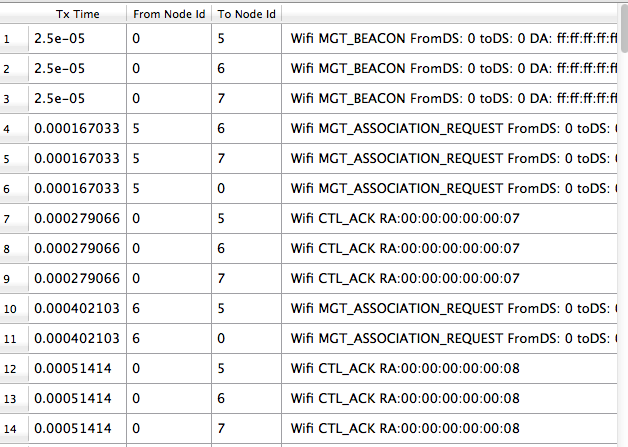
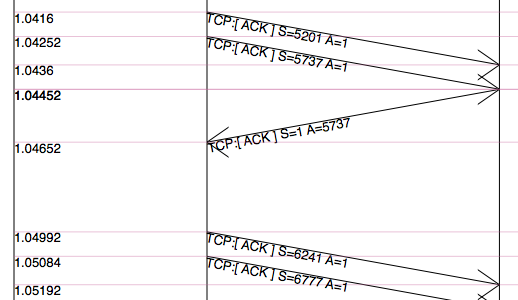
- Packet timeline can be viewed from the "Packets" tab** Note the "From Time" and "To Time" limits the range of packets that are visible** Note the filters and Time range are only applied after clicking the submit button.
F.A.Q
- I get /
home/wimax/ns-allinone-3.12.1/ns-3.12.1/build/../examples/routing/manet-routing-compare.cc:366: undefined reference to `ns3::AnimationInterface::AnimationInterface(std::basic_string<char,   std::char_traits<char>, std::allocator<char> >, bool)'
/home/wimax/ns-allinone-3.12.1/ns-3.12.1/build/../examples/routing/manet-routing-compare.cc:366: undefined reference to `ns3::AnimationInterface::~AnimationInterface()'
/home/wimax/ns-allinone-3.12.1/ns-3.12.1/build/../examples/routing/manet-routing-compare.cc:371: undefined reference to `ns3::AnimationInterface::~AnimationInterface()'
/home/wimax/ns-allinone-3.12.1/ns-3.12.1/build/../examples/routing/manet-routing-compare.cc:371: undefined reference to `ns3::AnimationInterface::~AnimationInterface()'
collect2: ld returned 1 exit status
Waf: Leaving directory `/home/wimax/ns-allinone-3.12.1/ns-3.12.1/build'
Build failed:  -> task failed (err #1):
   {task: cxx_link manet-routing-compare_9.o -> manet-routing-compare}
>> Add 'netanim' to your wscript
